
How to fill out your Career Navig8r profile for maximum benefit

Once you’ve completed your registration, you’ll see this image:
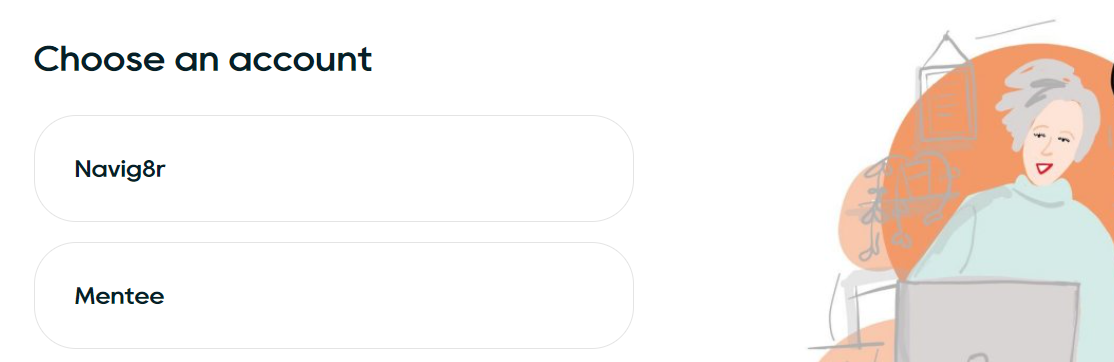
If you’re signing up as a mentor – which you are at the time you’re reading this – hopefully 😊
You’ll need to click on the button at the top which says “Navig8r”

Once you’ve clicked on that button – you should see that image on the right 👉 👉
(if you don’t, something has gone horribly awry our end 😉)
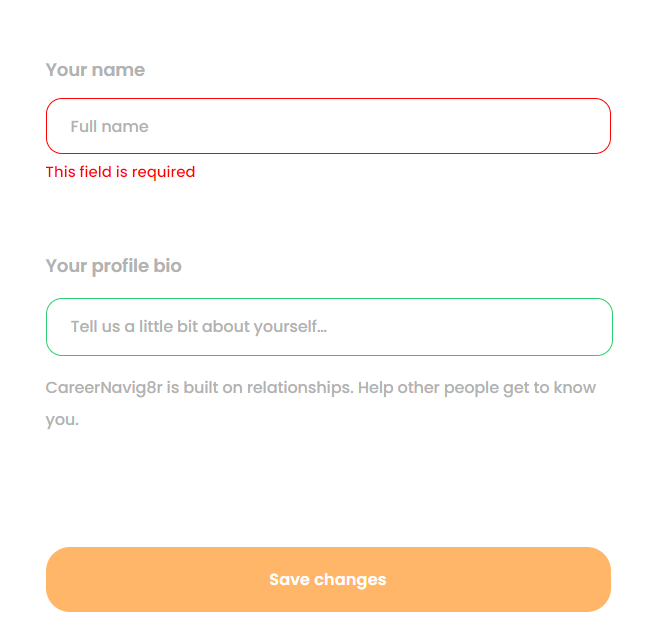
I bet you can guess what this section wants you to do can’t you?
Yep, add an image. Importantly – this should be an image of yourself, because that’s who the mentees will be expecting to see on the sessions!
And, please keep it professional, (ish – no need to wear a suit and tie) certainly no nudity. There are plenty of other sites you can go to and post unclad pictures of yourself. We’re not any of those sites 😊
Hot Tip: If you’ve linked your LinkedIn profile to your Career Navig8r profile. Use that picture. It’ll give you even more credibility, and make sure mentees know they’re stalking the right LinkedIn profile.
Next up – the nuts and bolts, meat and bones of your profile. The part where you’ll need to exercise your writing chops (or just copy & paste the first part of your CV)
Grab yourself a cuppa and get ready…
Time to write as though getting chosen by a mentee depended on it. Mainly, because it does – sort of.

This is where you come across as knowledgeable and approachable. Where you paint the picture that you’re the exact person the mentee is looking for. Remember – the biggest difference between Career Navig8r and other mentoring platforms – be specific about the way you’re going to help. Most of our mentees are looking for guidance & mentoring in a specific area.
A big fancy job title will mean less to them than “I’ve got x number of years in C++ programming, and I can teach you everything you need to know about being successful in that role.”
Also, add in a bit of your human side – make yourself relatable. If it’s a choice between 2 mentors, and one appears more relatable. That’s the one they are likely to choose.
Hot tip: Remember to leave white space between the paragraphs (or even sentences) simply because a big, long wall of text makes most people feel sad. More importantly. Those same people are less likely to read what you’ve written.
(Take a cue from the way this blog is laid out when it comes to leaving white space).
When you’re done. Click the SO BIG YOU CAN’T MISS IT “Save changes” button 😊
Next up: Your job listing
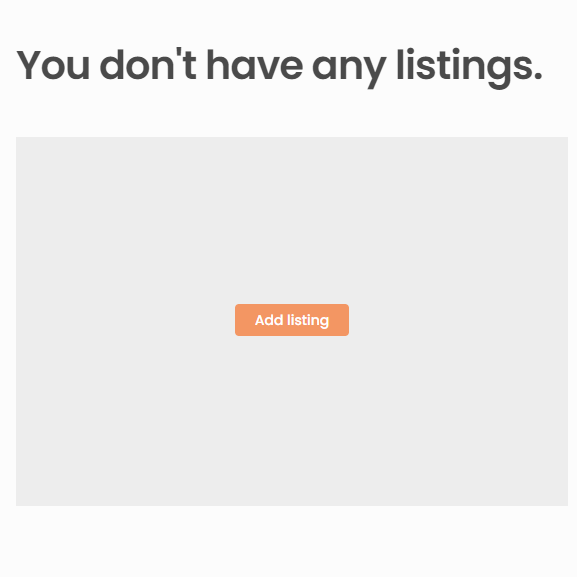
Once you’ve clicked the entirely too big to miss ‘save changes’ button above. You’ll see this 👉 👉
You can probably guess the next part – but go ahead and click on the ‘Add listing’ button.
When you do that – you’ll then see this 👇 👇
Hopefully it’s all self-explanatory…
But just in case:
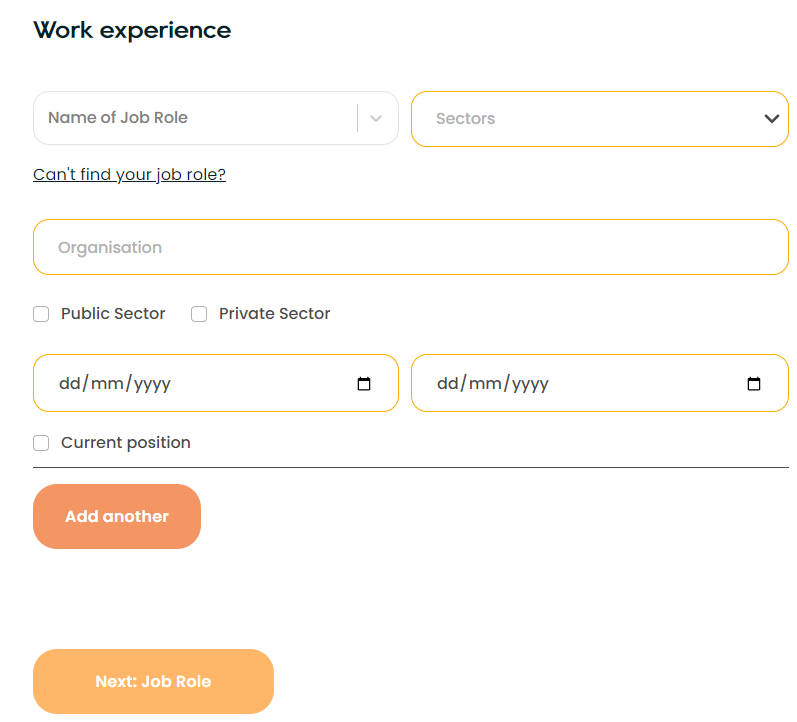
Name of Job role – is what job you were doing i.e. Actuary or Acupuncturist or Accountant
Sectors – which sector you performed that job role in i.e. Environment or Agriculture or Media.
Organisation – the name of the company you performed the job role for i.e. Mitsubishi, Microsoft, Ma’s Pie Shop.
You can then check the box for whether it was a Public (usually government-owned) or Private (owned by people who aren’t the government)
EG:
HMRC= Public Sector
HMV = Private sector
You can then add in the dates you performed this role between. Or just tick the date you started and the ‘Current Position’ checkbox if it’s a job role you’re still doing at the same company.
You can add another job role if it is relevant to the job role you are offering mentoring in.
i.e. If you’re offering mentoring in software development, it’s probably not relevant that you worked at Ma’s Pie Shop serving pies to patrons.
Otherwise click on the second (or bottom) button that says ‘Next: Job Role’
FYI. The ‘Add listing’ section is split into six subsections – which are:
- Work experience
- Job Role
- Seniority levels
- Languages
- Availability
- Pricing
When you click that button – the one that says ‘Next: Job Role’ this is what you’ll see 👉 👉
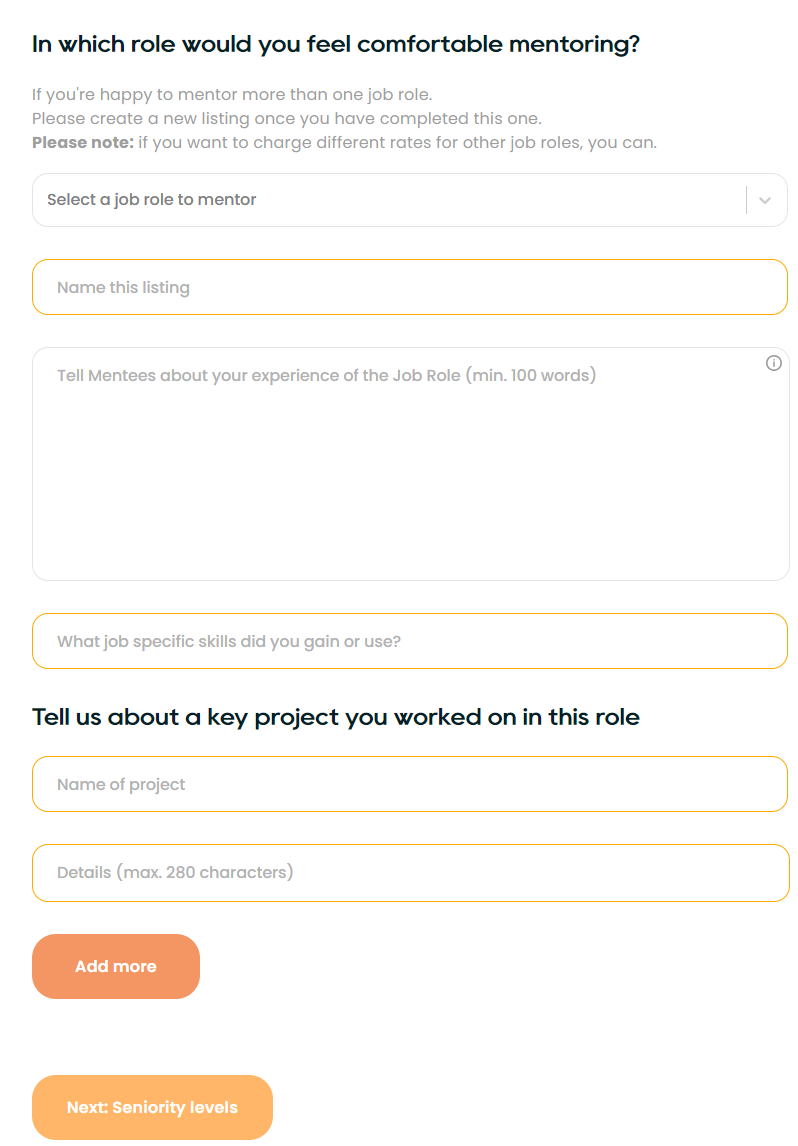
NB – If you want to mentor more than one type of job role – say software development AND project management. You’ll need to create a new listing for that.
Remember – Career Navig8r is ALL about the relevancy of your experience 😊
The first drop down ‘Select a job role to mentor’ will initially prefill a job role based on your previously listed job role.
Next, you’ll be asked to give this listing a name. This should be something that means something to you (especially if you intend to mentor more than one role) and should tell your potential mentees what to expect.
i.e. Beginner C++ programming, Interview tips for Perl programmers. You need to remember.
Your mentee needs to know what you’re offering mentoring in.
Next is the meaty part where you get to tell people exactly why you’re the best person to mentor them – based on the experience and accomplishments you’ll tell them about here.
What did you do well, what made you stand out, what knowledge can you pass on to them. How did you do it. And – what the results of the project were.
Basically, inspire them to want to choose you as their mentor.
Also, remember the previous tip about leaving some white space between your sentences.
Like this 😊
Next – a little section about what specific skills you learned or gained in the role. This is free type. So, you can write what you want – but remember, they’ll ideally be the skills someone who is choosing you as their mentor will need to be interested in. Relevant to the job you’re discussing – and the role you’re offering mentoring in.
Relevancy, remember 👍
Next up – A key project related to the role. A chance to name drop if you want – or you can tailor it to perfectly match what you think a mentee wants to hear. If you rolled out desktops for all of Barclays Bank – say that – and what you learned from it.
That’s it for that section.
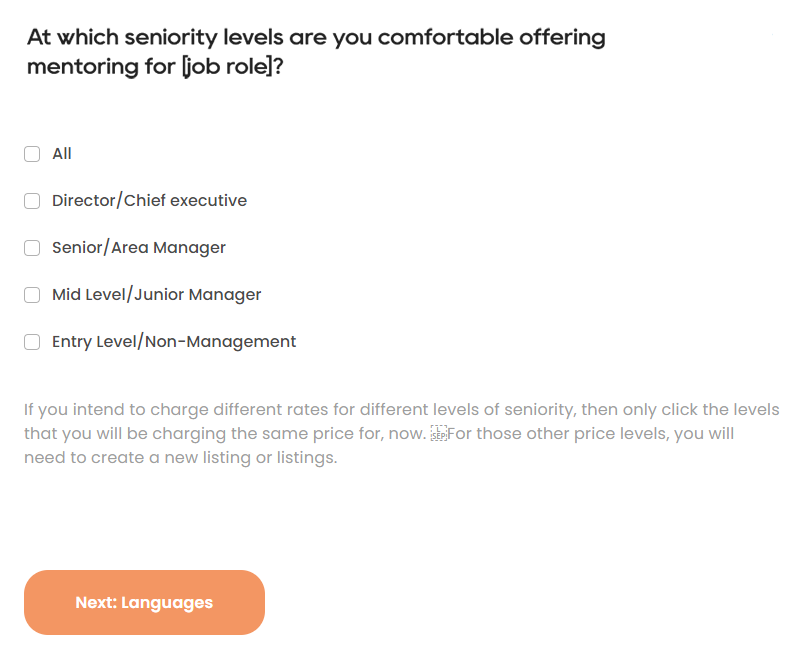
Next up: Seniority Levels. When you click the big orange ‘Seniority levels’ button. You’ll see this
As you can see – it’s a straightforward tick box exercise. You must choose at least one seniority level; you can choose as many as are applicable.
Nice & easy, you now need to click the big orange button. This time it says ‘Languages’ (This is the 4th of the 6 topics)
When you click that big old button, you’ll now see this 👉 👉
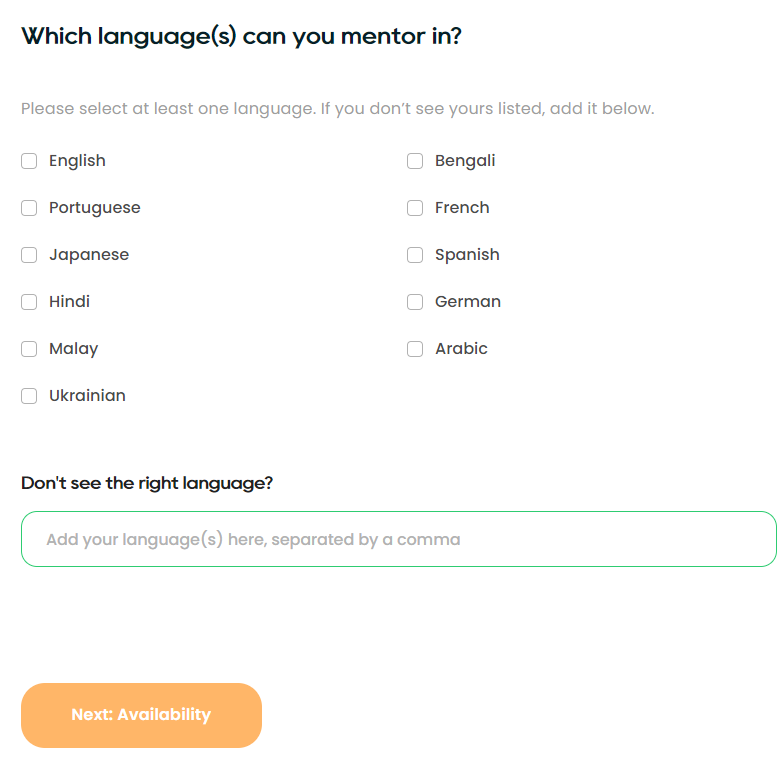
Another simple tick box exercise. Tick as few or as many boxes that correspond to the languages you are happy (and confident) to hold your mentoring sessions in.
NB – If you can’t see a language(s), you can manually add it/them in the box, and we’ll get it added as soon as we can.
Another big orange button. This time it says ‘Availability’ – as you might have guessed, topic 5 of 6 is your mentoring availability 😊 Click the button and let’s move on
Topic 5 of 6 – almost there.

Availability: These are the times, and the days, when you can offer mentoring appointments!
Hot tip: You’ll see why this is before the picture. When you change a start time value – you must change the corresponding finishing value. Otherwise, the option to save won’t appear.
By way of an example:
When you first open this screen – you’ll see the days of the week. Click on one to choose a day to offer sessions.
In the example above you can see sessions being offered on a Monday between 3 PM and 5 PM (15:00 & 17:00)
17:00 is the default finish time – but unless you change that by altering it and choosing 17:00 again. You won’t be able to move on.
You’ve come so far through 5 topics – you don’t want to get stuck so close to the end 😊
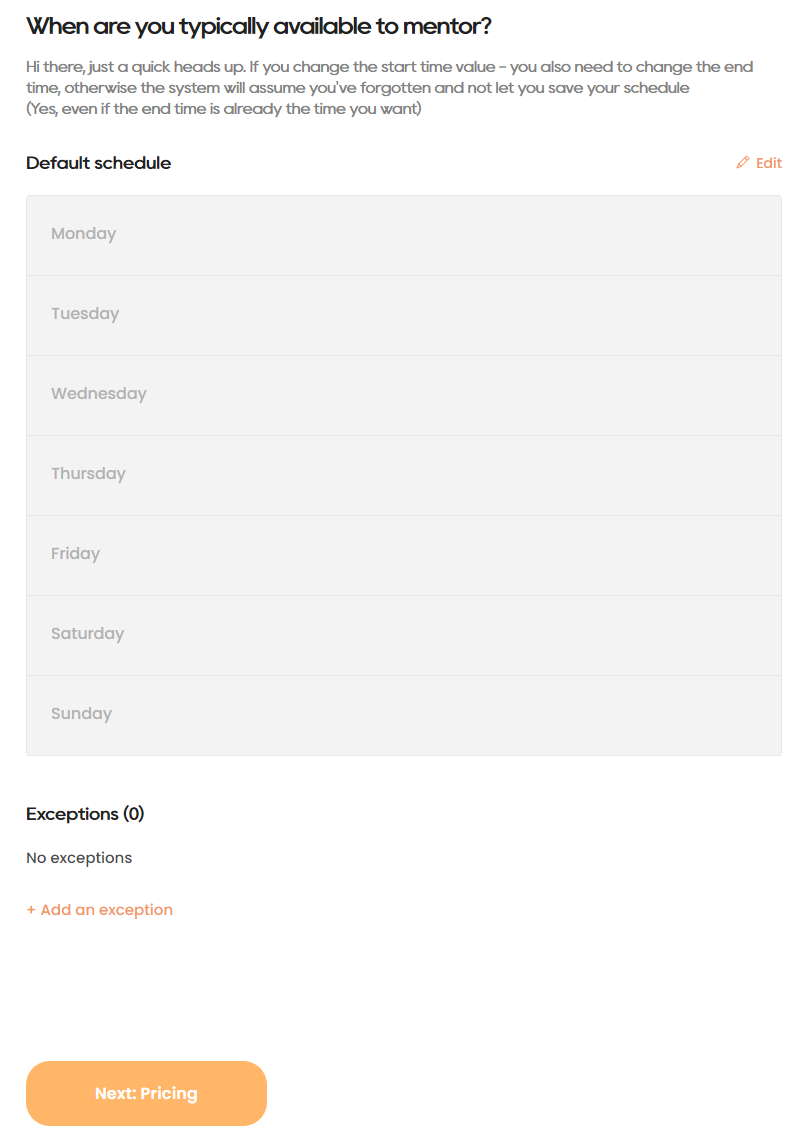
Here’s what the screen looks like before you choose a day 👉 👉 👉
If you have any difficulties saving this screen – it’ll be one of those pesky finishing time values 😊
Lastly – another big orange button – and probably the one you’ve been waiting for. Once you’ve added all the days & times you can offer mentoring sessions – and you’ve altered the finishing times where you need to…so that you can save.
Click the big orange ‘Pricing’ button.
Six out of SIX. Pricing!
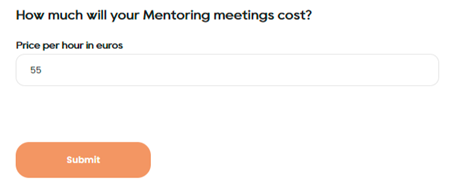
Here’s what you’ll see when you’ve clicked the PRICING button 👇 👇

Entirely up to you this. What do you think your sessions are worth – and will mentees be willing to pay that to book sessions with you?
Charge what you’re worth – charge what you think people will pay.
If you want to charge for different mentoring services at different rates – you’ll only have to create a new job listing 😊
Once you click the ‘Submit’ button, you’re done in terms of creating your Career Navig8r Profile and job listing.
HOWEVER. Do you want to get paid? If you do there are a couple more things to do – but this is to enable Stripe – our payment partner. To give you the money you’re owed.
Once you’ve finished your profile and job listing and clicked Submit.
You’ll see this screen 👉 👉 👉
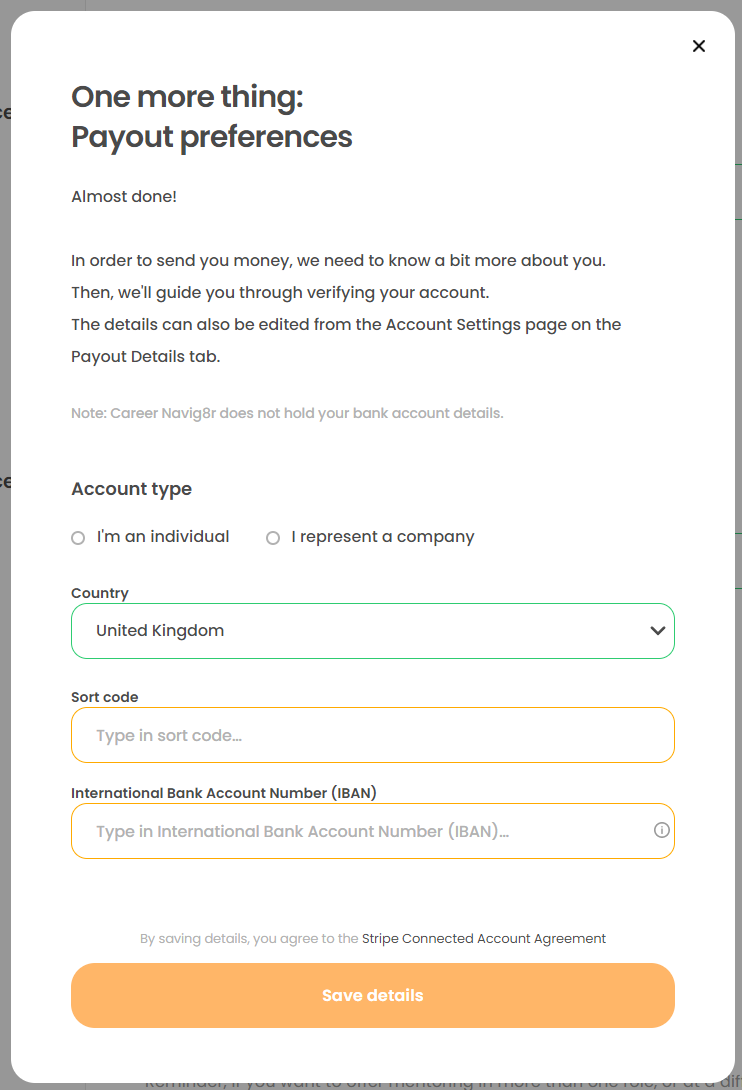
In this image – the ‘I’m an individual’ checkbox & Country dropdown have been filled in which brings up the boxes for your Sort Code and your International Bank Account Number (IBAN).
They need to be entered with no formatting.
Just as a series of numbers (sort code) & letters and numbers (IBAN)
E.G. Sort Code 001122 IBAN GB54HBUK00112212345678
You’ll know whether you’ve entered the numbers in the correct format, because Stripe won’t scream at you in big red letters saying “We couldn’t validate your details”.
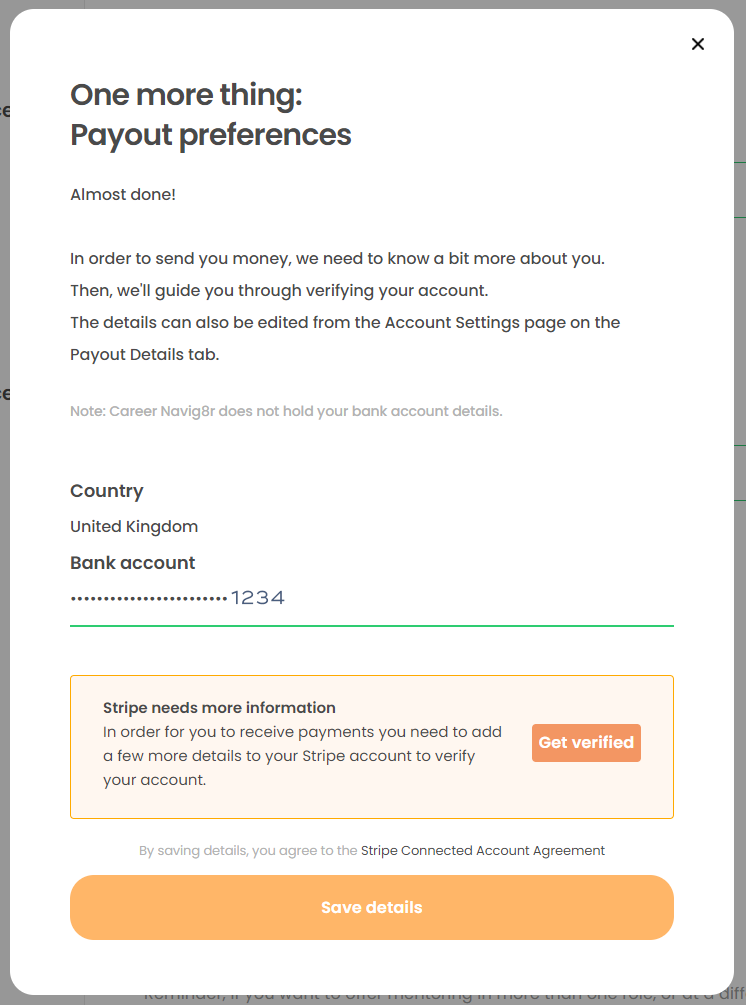
When you’ve entered your sort code and IBAN correctly you’ll then get this pop up.
You’ll see Stripe have successfully looked up your bank account (important, if you want to earn money from mentoring).
Now, you need to click on their ‘Get Verified’ button.
You’re most of the way there now with your Stripe verification – you’ll be pleased to hear.
(Although, the getting paid part is probably worth the odd hoop to jump through, right?)
Anyway – go ahead and click the ‘Get Verified’ button 😊
When you do – this screen appears…
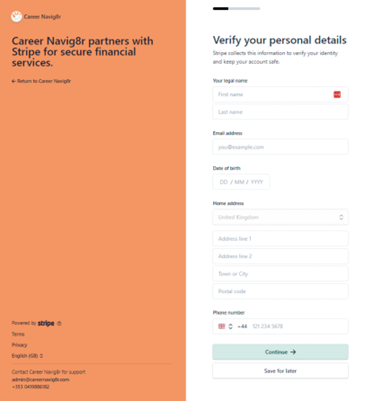
Fill in all your details.
This is a simple check by Stripe to make sure you’re who you say you are, and more importantly, that you are associated with the address and bank account you enter.
Mainly to make sure they are paying the right person the right money 😊

When you’ve done that and clicked ‘Continue’ you’ll see this screen 👉 👉 👉
Assuming these details are correct (and you wouldn’t get this far if they weren’t) you just need to…
…click on ‘Agree & Submit’ and you’ll be taken to a familiar screen. Stripe will tell you they are reverting you back to the Career Navig8r website.
You’ve been here before – but now you’re verified by Stripe to receive payments 😊
Which I think we can ALL agree is a good thing!
This is the familiar screen 👇 👇 👇 and you can click on that ‘Submit’ button and You. Are. Done
NOW – when you clicked on that ‘Submit’ button this happened 👇 👇 👇

You can see from this practice profile how all the pieces you’ve written come together.
You can see your profile picture.
How much you charge for THIS mentoring session and, the name of the session.
Underneath you’ll see what the session is about – the parts you filled in earlier. And you’ll see your profile and the information you wrote there.
That’s why it’s important for you to be approachable and show your experience.
When mentees enter a search query for a job they want mentoring in. This is what they will see.
You’ll also see on the right-hand side your availability and the option to book sessions with you 😊
Well done for sticking with it 👍 👍
Let’s get mentoring 🎉 🎉 🎉
Latest posts

The Best Biochemistry Careers in 2026 and How to Land Them
Biochemistry is one the most exciting fields in science right now with modern developments pushing forward the boundaries of medicine, technology, and even agriculture. But what career opportunities can you look for with a degree in biochemistry? Which jobs earn the best money? And is biochemistry a fulfilling career path?

The Steps to Becoming a Judge in the UK
If you want to become a judge in the UK, then you’ll need to plan your career well in advance. As a senior legal role, it takes years of experience and strong qualifications before you can be considered.

How Much Can You Earn As a Fitness Instructor? And do you Need Any Qualifications?
Are you a practical-minded person? Looking to start a career that won’t make you wait ten years for a reasonable income and financial independence?